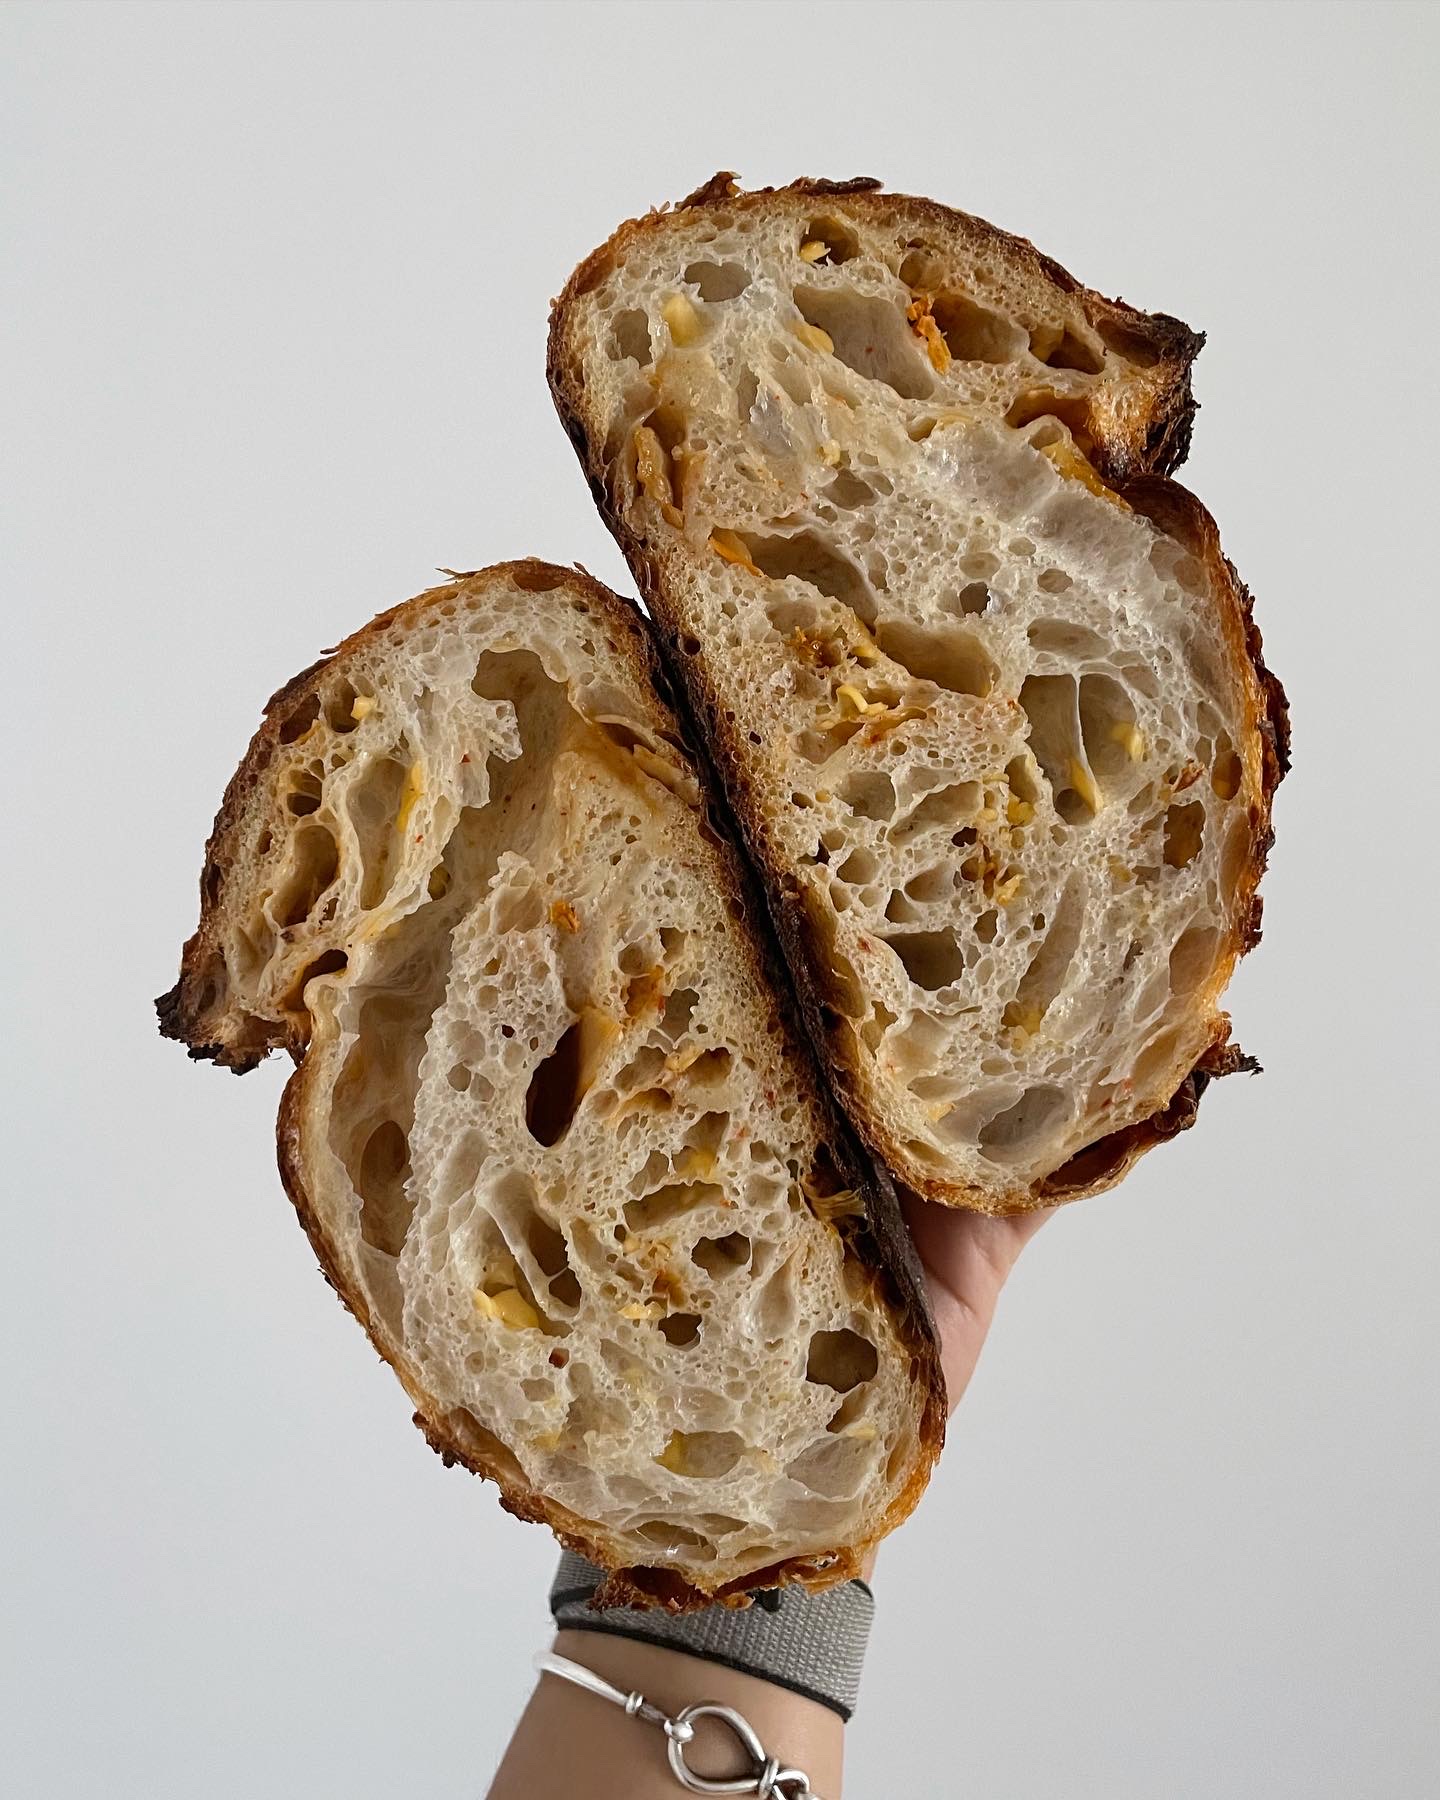
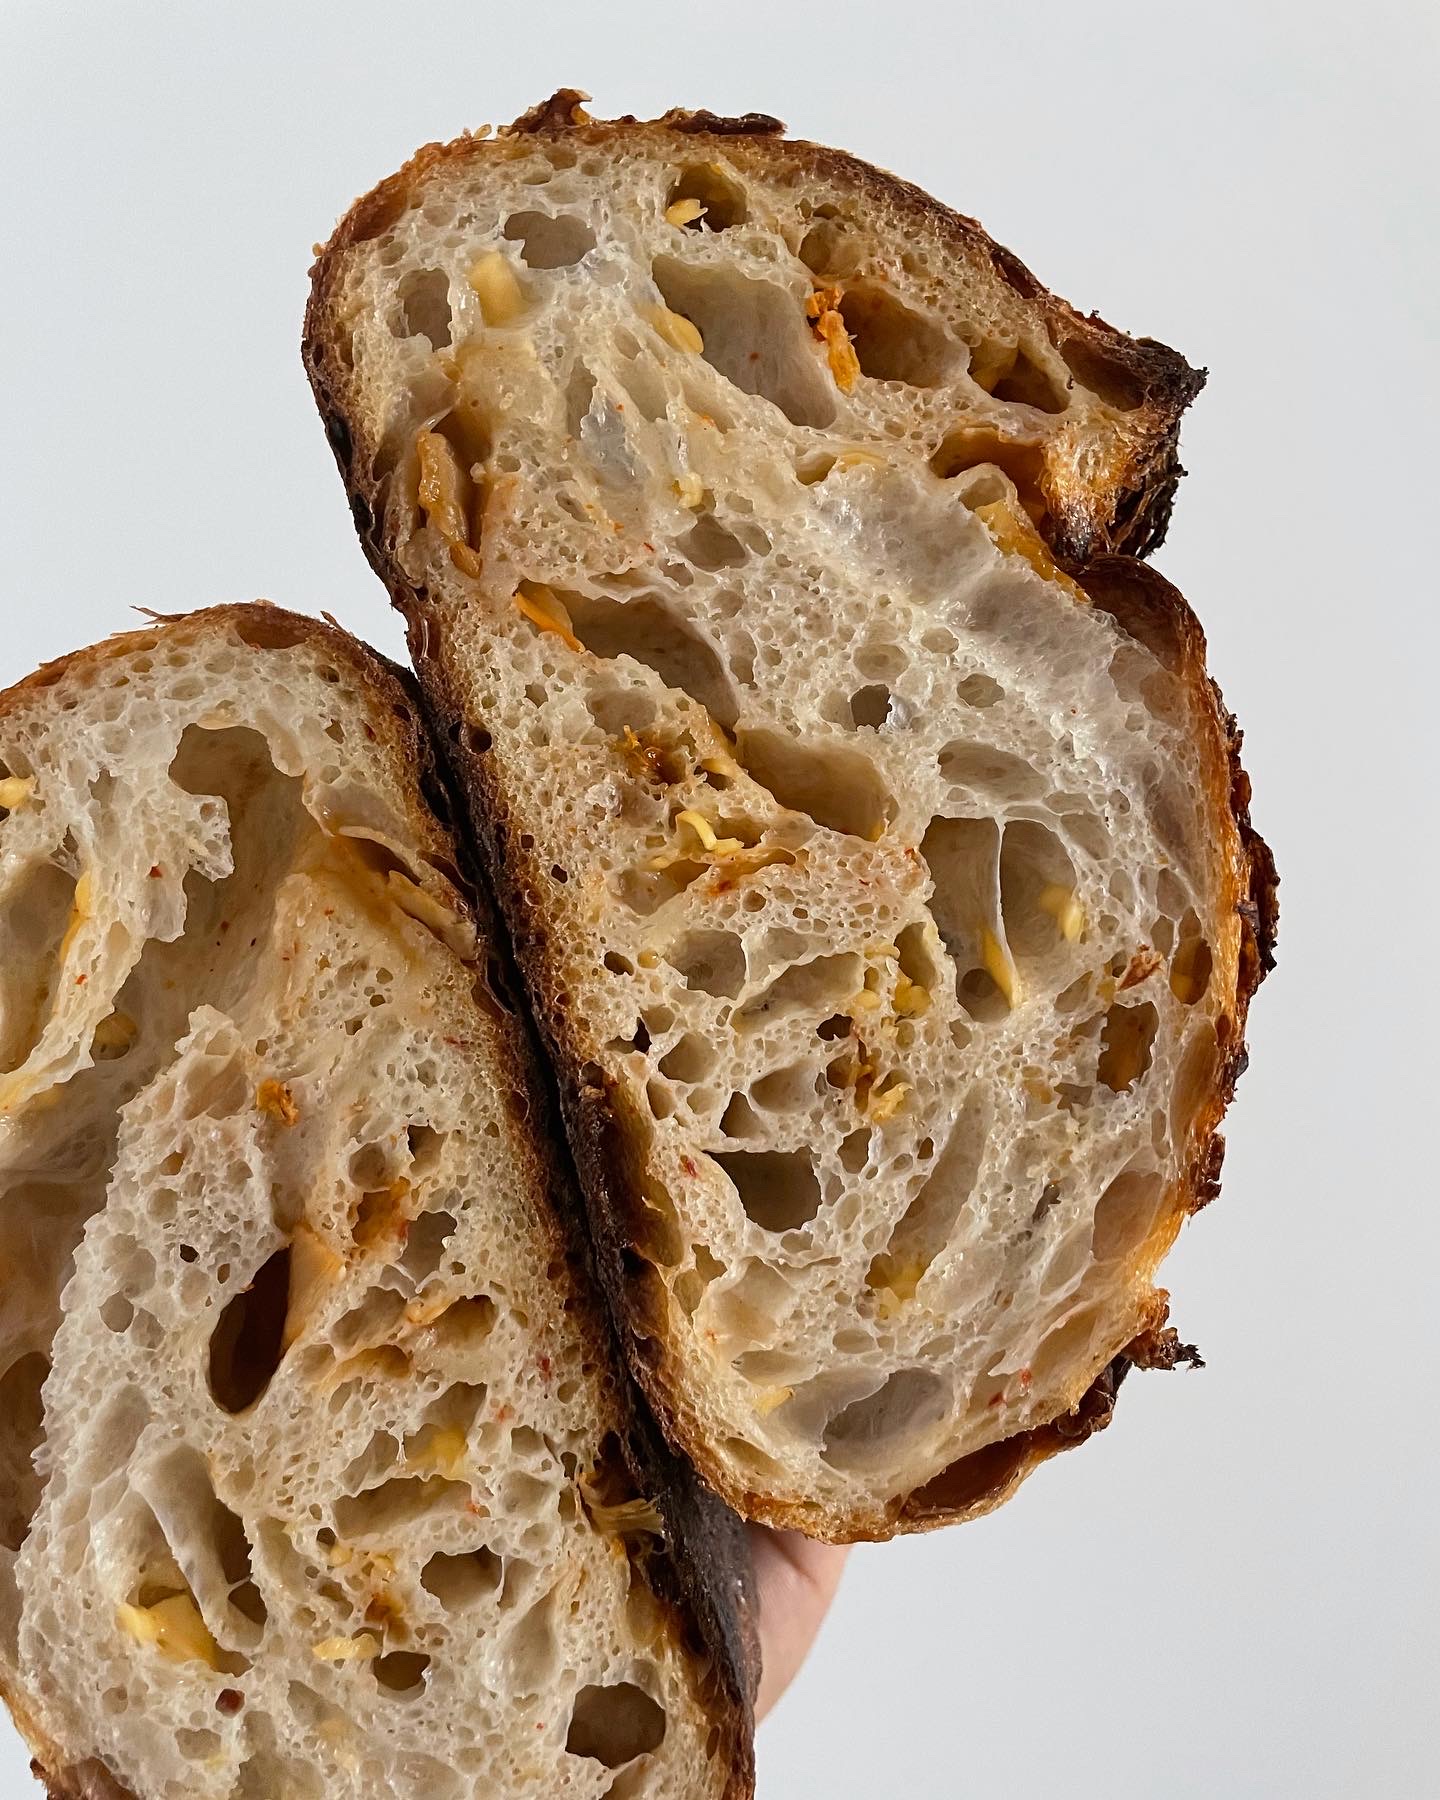
Kimchi and cheese? Talk about an incredible combo! It’s like a flavor explosion in your mouth – tart, salty, and packed with that irresistible umami punch. Personally, I can’t get enough of it, whether it’s in a gooey grilled cheese sandwich or a comforting mac & cheese bowl. And you know what’s the best part? When I ventured into the world of sourdough baking a few years back, one of my very first experiments was incorporating kimchi and shredded cheddar cheese into the dough. It was a game-changer!
In this post I will be sharing my process in creating this Kimchi & Cheese Sourdough Loaf. Give me a tag on Instagram if you gave this a try!

Equipment
- bench scraper
- banneton & proofing liner
- Bread lame/razor for scoring
- 6qt dutch oven like this Lodge dutch oven
Check out this blog post for other recommended equipment: Seven essential sourdough bread making tools
The Process
Dough
- 60g levain
- 5g sourdough starter
- 30g flour
- 30g water
- 300g bread or all-purpose flour
- 234g water (78% hydration)
- 6g sea salt
Lamination
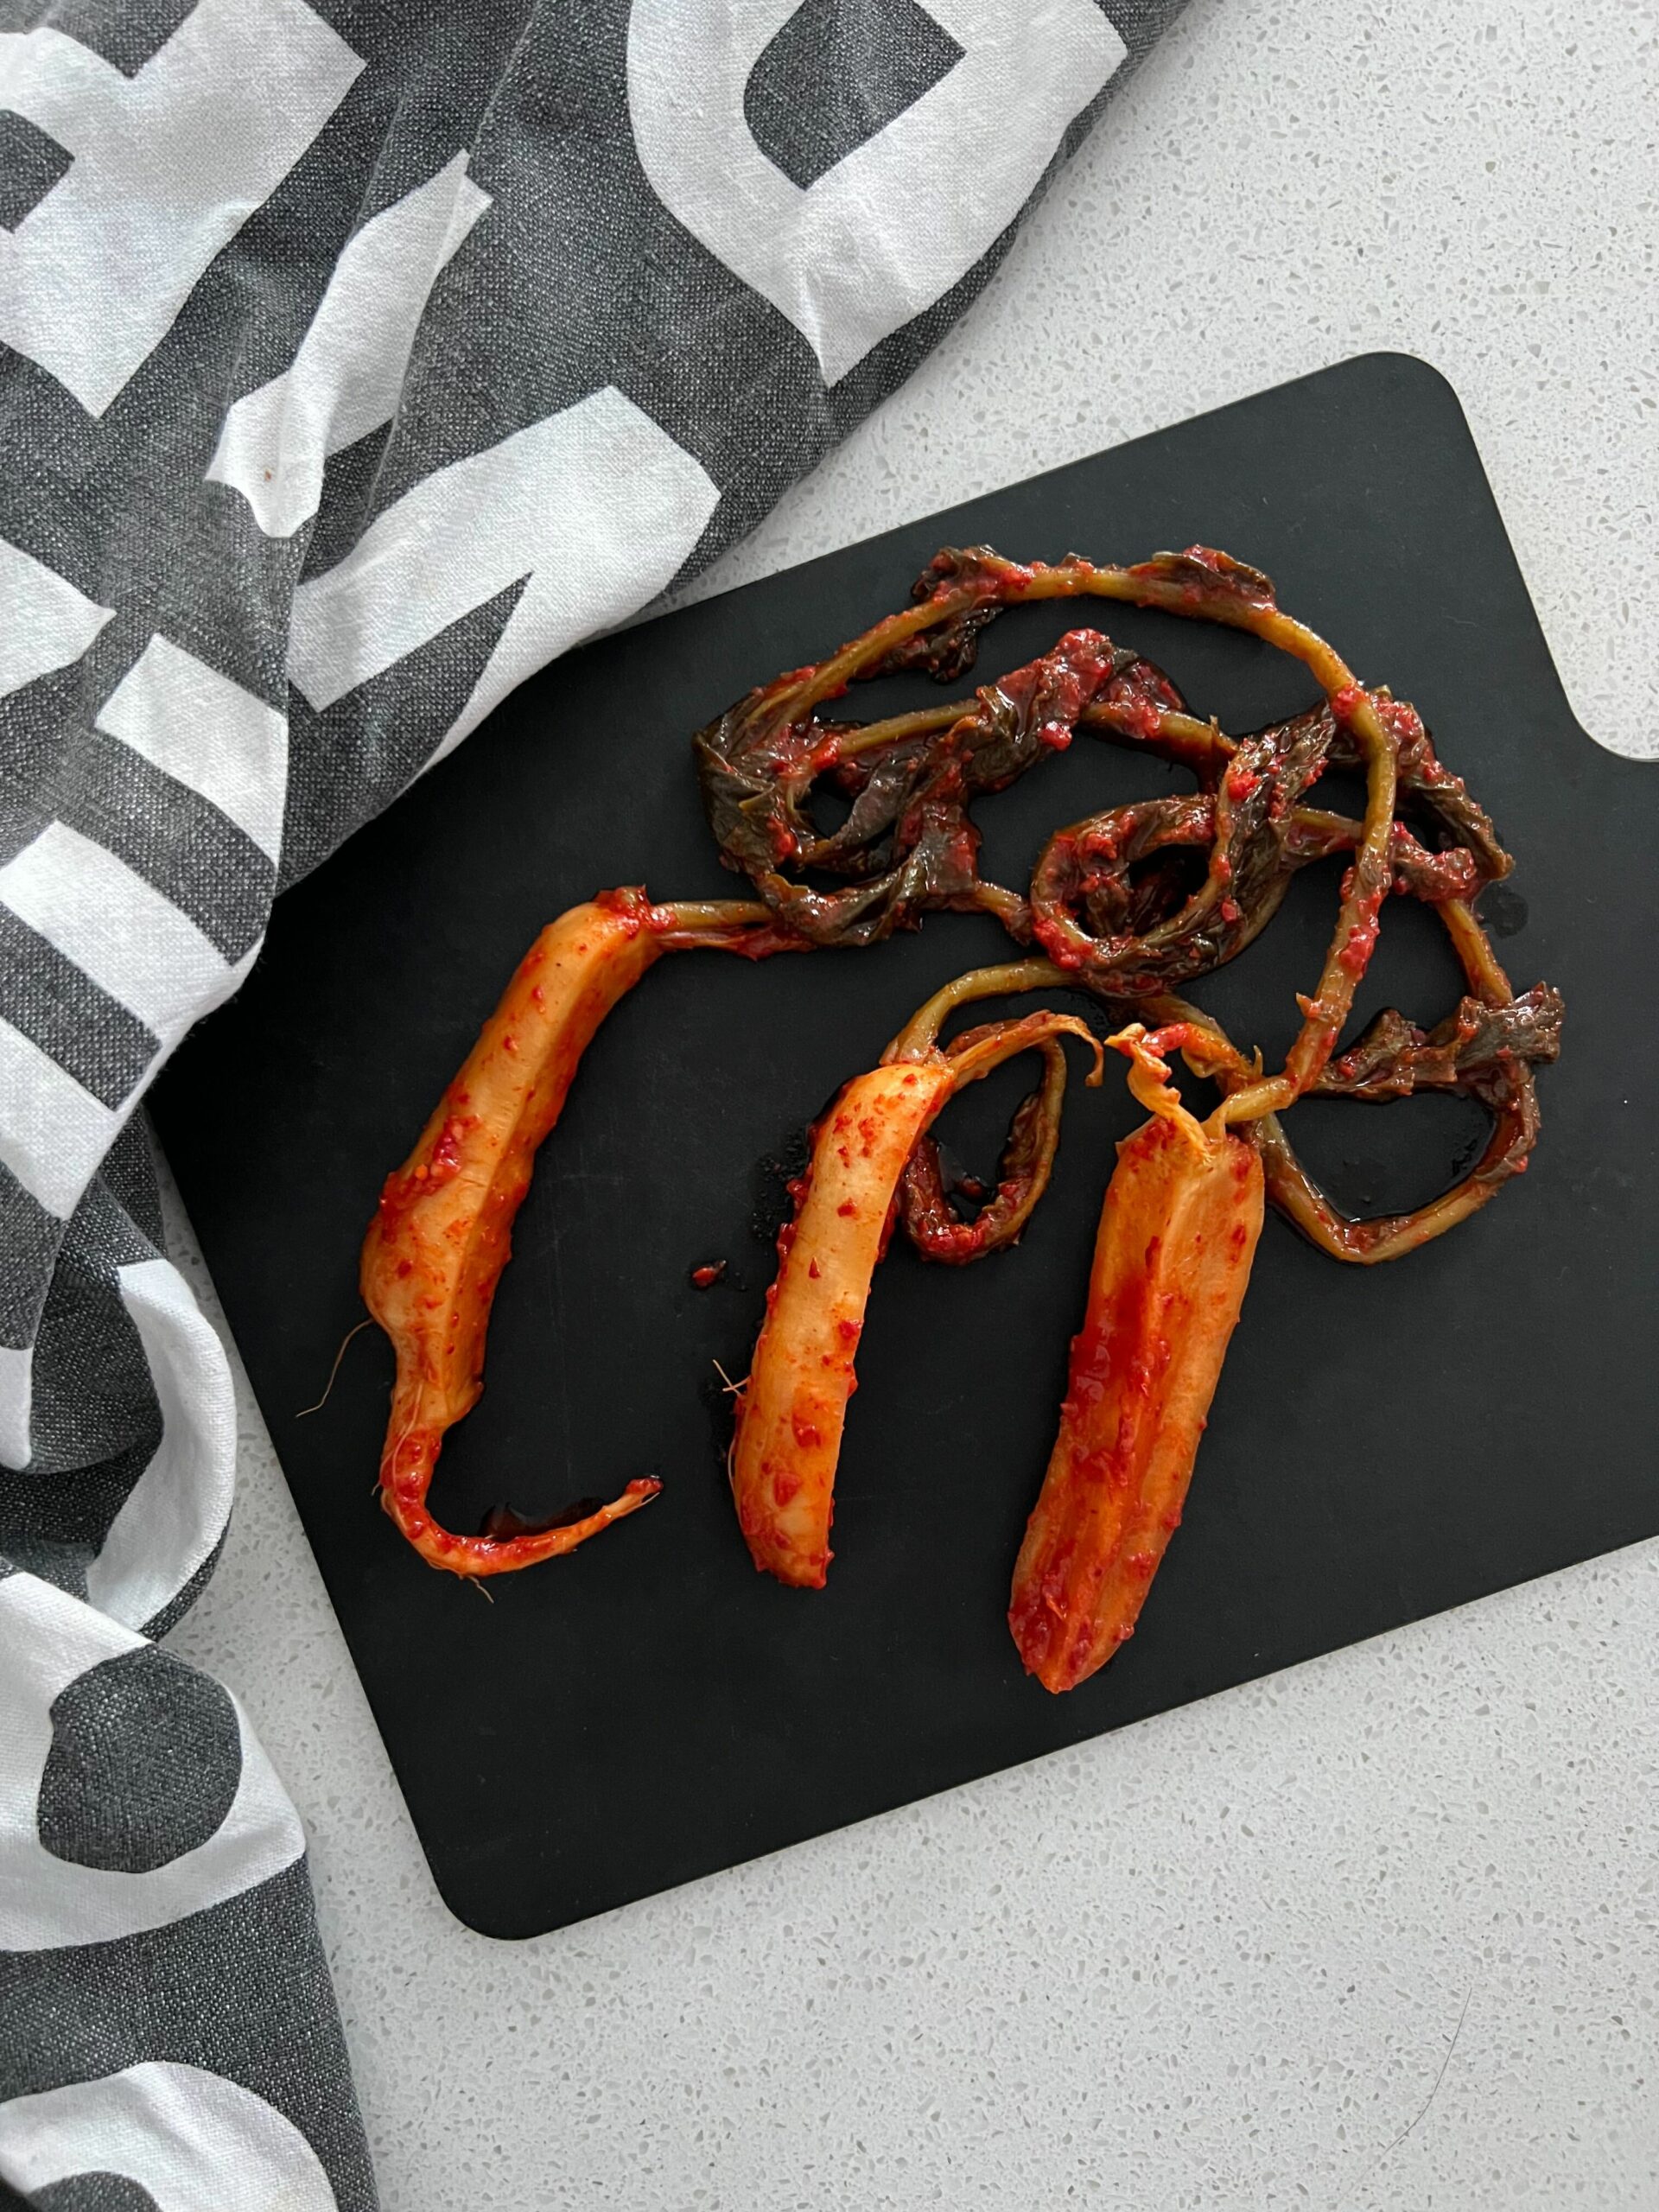
- 1/2 cup kimchi, chopped
- 1/4 cup shredded cheddar cheese
Other
- Half rice flour and half all-purpose flour mix, for dusting
Day 1: Build Levain
9:30pm: Make levain by combining 5g sourdough starter with 30g flour and 30g water.
Day 2: Ferment Dough
- 8:00am: Autolayse – mix flour and water together, reserving 10g of water. Set aside. Mix the reserved 10g of water with salt. set aside.
While the dough is resting, prepare the kimchi. Cut the kimchi up into small pieces and add it to a heated dry skillet. Cook the kimchi until the excess kimchi juice has been cooked out and the kimchi looks dry. Transfer it to a bowl, cover and set it aside until you are ready to laminate your dough.
- 8:30am: Start Bulk Fermentation – add levain into flour and water. Squeeze and stretch & fold the dough to incorporate the levain evenly.
- 9:00am: Add salt water mixture into the dough. Squeeze, and stretch & fold the salt evenly into the dough.
- 9:30am: Stretch & Fold – Take the side of the dough and stretch it up and over the top of the dough. Rotate and repeat. Do about 4-6 strech & folds.
- 10:00am: Laminate – Wet a work surface with a thin layer of water. Transfer the dough onto the surface and spread it thin. If the dough breaks, that is okay.
Sprinkle shredded cheddar cheese and the cooked kimchi all over the dough. Reserve about a tablespoon each.
Letter fold the dough: take one long side of the dough and fold it over 2/3 of the dough, like a letter, and then fold the other side over everything, completing the letter fold. Sprinkle the reserved kimchi & cheese over the folded dough and roll the dough up, completing the lamination process. Place the laminated dough seam side down in your proofing container.
- 10:30am: Coil Fold (see video) – The dough at this point should look very relaxed. Lift the dough from the center, stretching out one of its sides until it comes free from the container. Allow the free edge of the dough to fold under. Release the dough.

Repeat on the other end: Lift the dough again from the center, freeing the other end. Allow it to fold under. Release the dough.
Rotate the proofing container and repeat 1-3 on the other side. If you are unsure what side you are working on, take a look at the ends, they should look coiled (see photo). We want to fold these ends under.
- 11:00am: Coil Fold
- 11:45am: Coil Fold
- 12:45pm: Coil Fold –This is the last coil fold.
- 1:45pm: Shape – lightly dust a banneton or proofing towel with 1:1 flour and rice flour. The rice flour helps prevent sticking. Now dust your work surface and the top of the dough with flour. Turn the proofing container upside down onto the work surface. The dough should come free. Take the left side of the dough between your fingers and stretch it out and then over the center, like a letter fold. Lightly press the crease into the center. Repeat with the right side, completing the letter fold. The dough should look rounded, like a log. Now take the top of the dough and fold it over the center, lightly pressing the edges down. Roll the rest of the dough over, swiss roll style until the seam is at the bottom. Pinch the edges closed and tuck them under the dough. Using a bench scraper, flip the dough from the work surface into your hands, seam side up and place it in the banneton. Cover and let the dough rest for 1 hour.

- 3:00pm: End Bulk Fermentation: ~6.5 hours at 72F. Put the dough into the fridge to retard (cold ferment) until you are ready to bake the next day ~16-19 hours.
Day 3: Bake
- 9:00am: Preheat the oven to 500F. Place the dutch oven inside.
- 9:40am: Take a parchment paper and cut the corners out. This helps with putting the sourdough into the dutch oven. Flip your dough out from the proofing basket. Score and lightly spray with water from a spray bottle.

Take the dutch oven out of the oven and remove the lid. List the dough by the ends of the parchment paper and place it inside the dutch oven. Put the lid back on and transfer the dutch oven to the oven. Reduce the oven temperature to 450F. - 10:00am: Take the dutch oven out and remove the lid. Transfer the dutch oven back to the oven without the lid.
- 10:30am: The sourdough loaf is done when the crust is nice and golden. Remove the loaf from the oven and let it cool for about an hour before slicing.

Related Resources
- My sourdough process: starter maintenance & baking schedule
- Seven essential sourdough bread making tools
More sourdough loaf recipes to tickle your palette





Leave a Reply