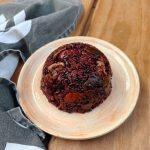
I have been making homemade kimchi for years now (since 2017!). It was actually my first fermentation project. The first few batches of kimchi I made were vegan since I was concerned about improperly fermenting animal products. I tried out a few recipes on Pinterest and YouTube, including Mommy Tang’s, and Maangchi’s, and took my combined takeaways to land on this recipe. This is a low-hassle, easily made vegan, kimchi recipe that serves as the perfect base for creative offshoots.
These days, when preparing kimchi, I refer to this recipe. I’ll make occasional adjustments here and there depending on the ingredients available in my fridge or pantry. For instance, I might opt for pureed apples or pears instead of the glutinous rice paste, which functions as the sugar source for the bacteria. But, I always go back to the basics with this foundational recipe made with standard ingredients that I usually have readily available.
The Ingredients
Main veggies
- 3-4 tbsp coarse sea salt
- 1 small napa cabbage or 1/2 a large napa cabbage
- 1/2 daikon, optional
Kimchi paste
- 1 tbsp glutinous rice flour
- 1 cup water
- 1/2 cup gochugaru
- 3 tbsp fish sauce or light soy sauce
- 1.5 tsp salt or more fish sauce
- 2 tbsp sugar
- 5 cloves garlic
- 2 tsp ginger finely minced
Extras
- scallion or chives, cut into 2 inch pieces
- carrot, julienned
The method
Step 1: Osmosis
This phase involves sprinkling salt directly on the vegetables (napa cabbage and daikon in this case) to draw out moisture from the vegetables (osmosis).
There are two ways I prefer to chop the napa cabbage:
- The first method, outlined in (1a) is the lazy person’s method where you chop up the napa into chunks to ferment. This makes it easy and fast to serve the kimchi. And you can eat as little or as much as you want.
- The second method, outlined in (1b), is my preferred and the more traditional method where you chop the napa up into wedges, and then roll it up to ferment. To serve the kimchi, you must first take out an entire wedge, and cut it into bit-sized chunks.
1a: The lazy chop
Chop the napa cabbage and thoroughly wet it with water. Place it in a bowl and generously sprinkle it with coarse sea salt. Toss the napa and add more salt to evenly coat. Allow the napa to rest for about 4 hours, stirring the mixture every hour.


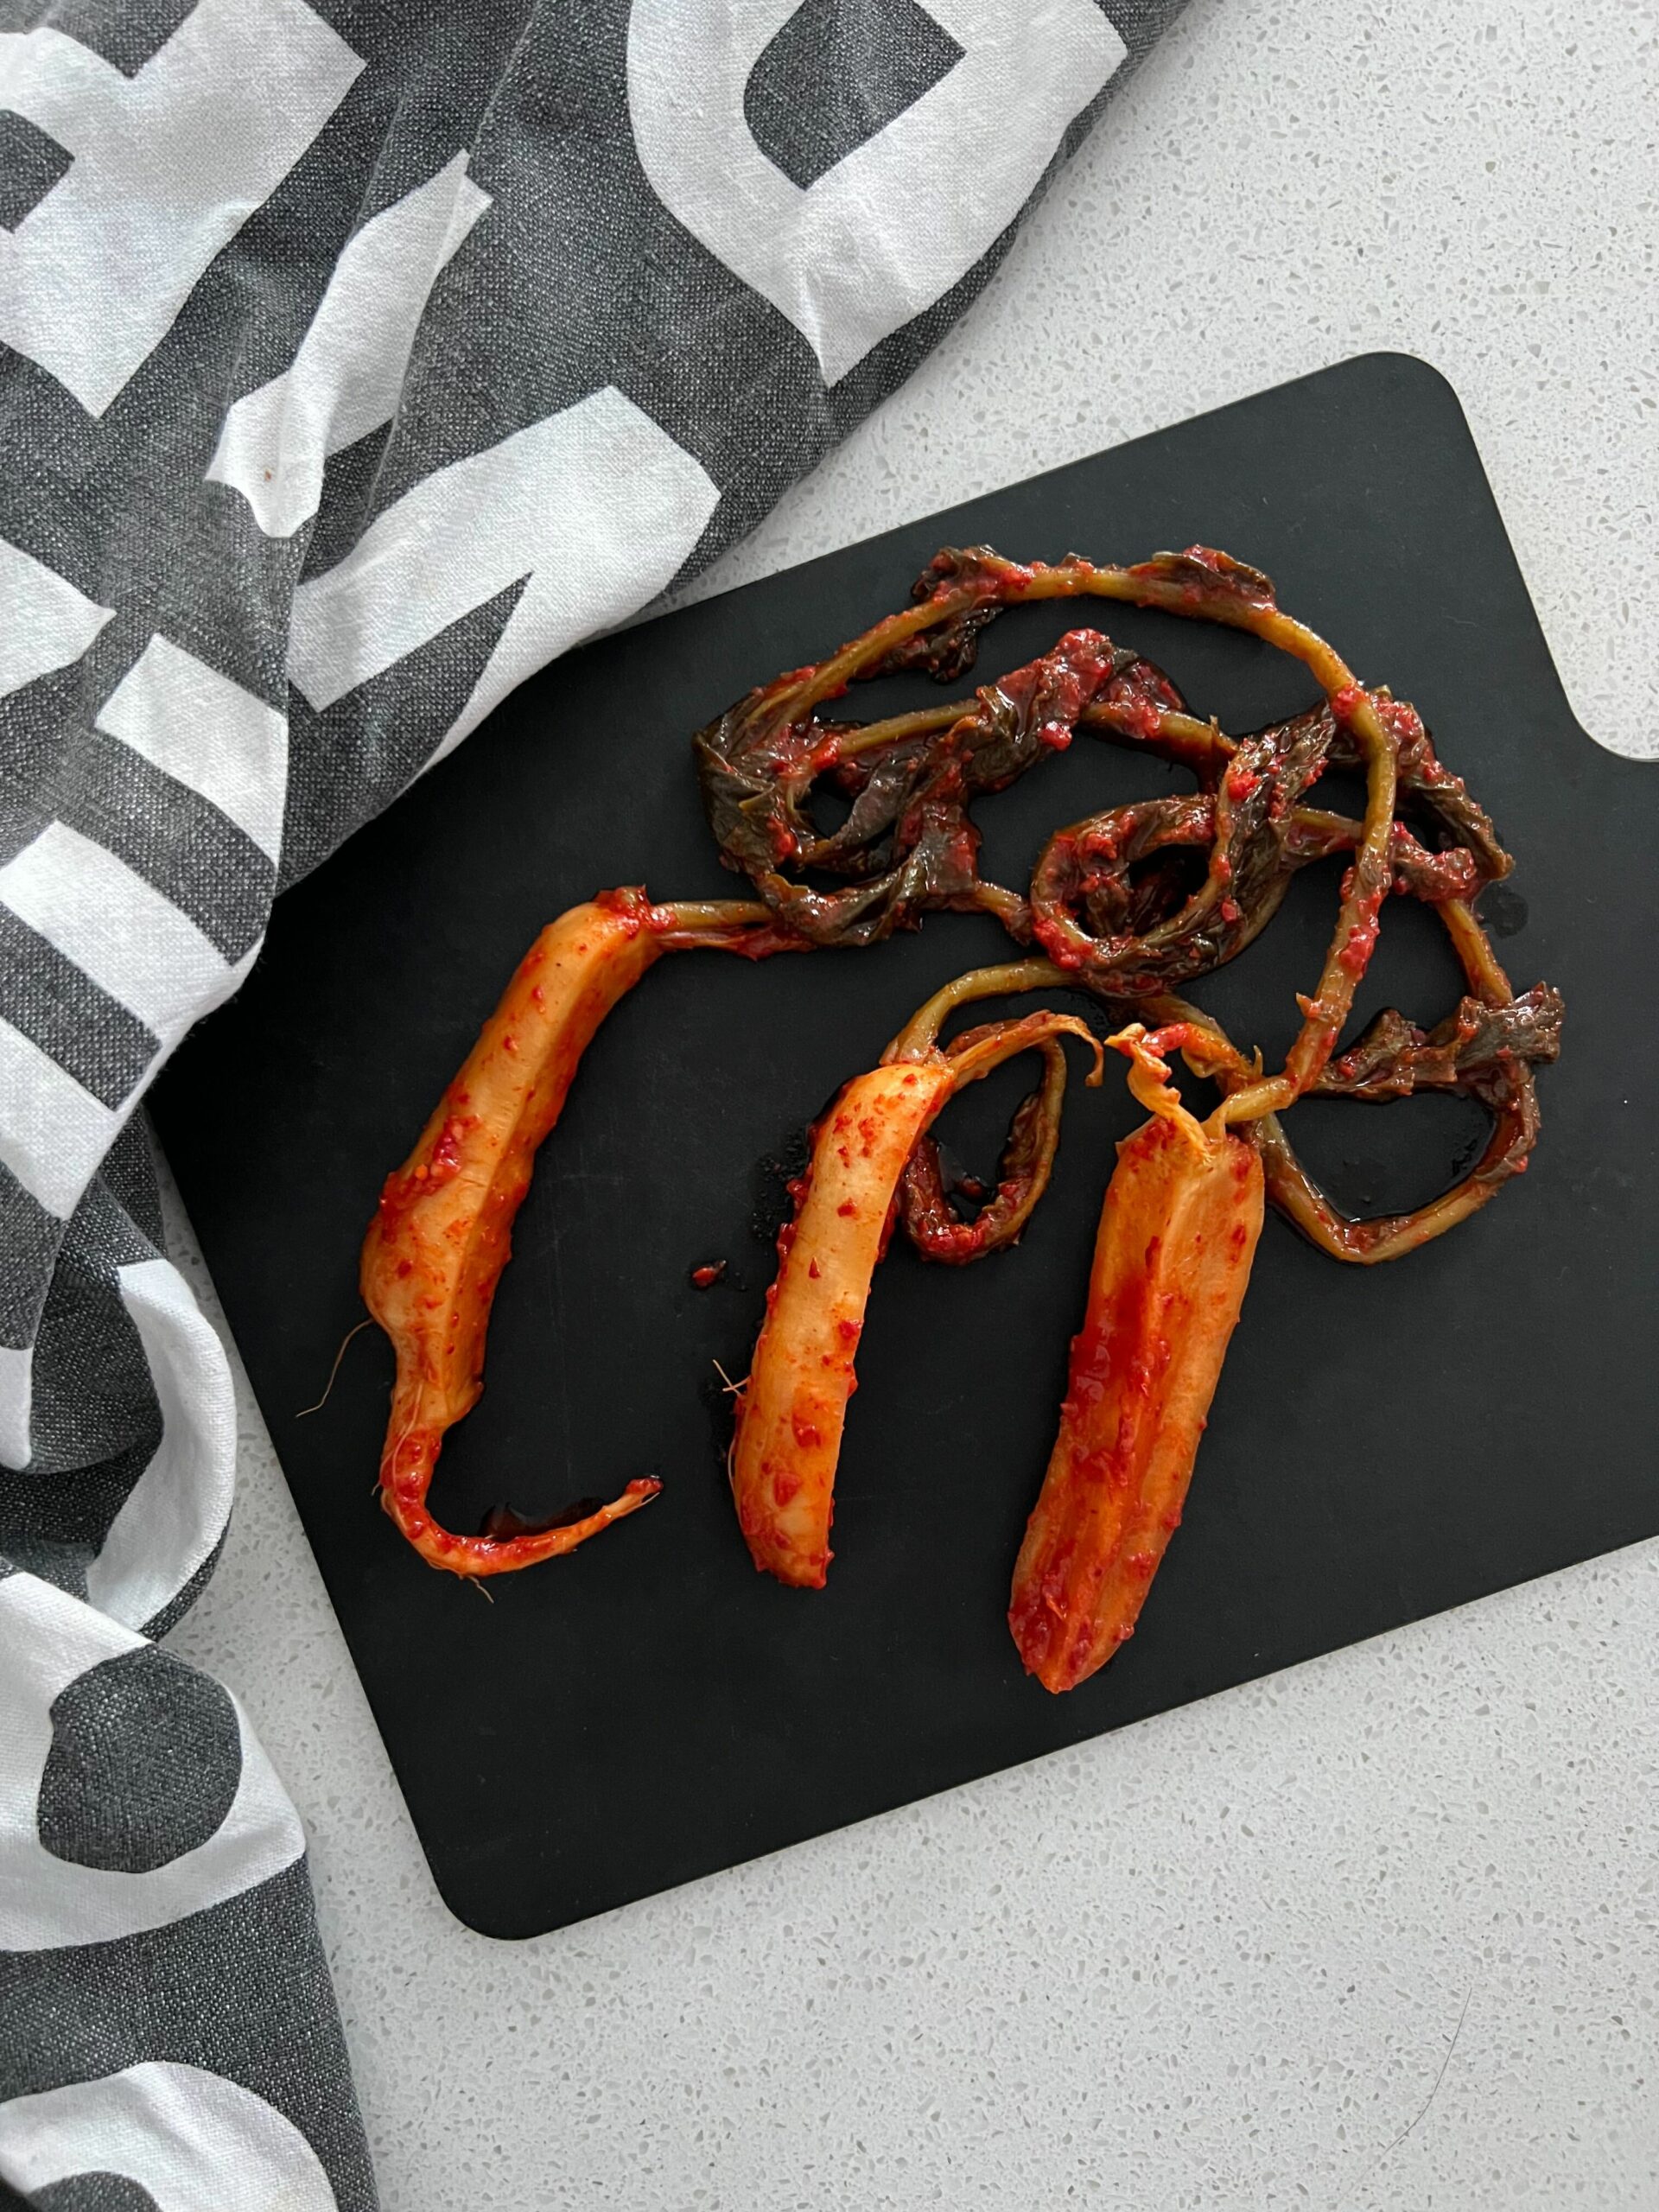
1b: The traditional chop
Chop up the napa cabbage into thin wedges with the bottom still attached. The best way to do this is to slice a napa cabbage in half and then chop that half into thirds or quarters. Thoroughly wet with water, taking care to wet between the leaves. Sprinkle coarse salt all over and between each leaf and let sit for about 4 hours or until the cabbage can easily be bent but still holds a crunch. Make sure to flip/re-order the wedges every hour to evenly distribute the salty brine that will form at the bottom of the bowl.


Step 2: Preparing the kimchi
Make the seasoning paste: mix rice flour with water in a pot and put over medium heat, stirring until thickened ~5 minutes. Add the paste to a large bowl and mix with fish sauce, gochugaru, and sugar. Let the paste cool. Minced garlic and ginger and chop up scallions or chives and add them to the mixture. Then add in the julienned carrots, if using.


When the napa can easily be bent but still holds a crunch, it is ready. Thoroughly rinse the napa with water and drain. Do the same with the daikon, if using.
Now it is time to coat your veggies in the paste. Depending on how you have chosen to cut your kimchi (the lazy or traditional method), this will look a bit different:
2a: The lazy chop
Massage paste into the napa cabbage and transfer to mason jars or containers.


2b: The traditional chop
If you kept the napa cabbage in wedges, generously layer the paste between each leaf. Roll it up starting from the steam and place it seam side down in a mason jar.


Make sure to densely pack the cabbage– we want as few air pockets as possible.
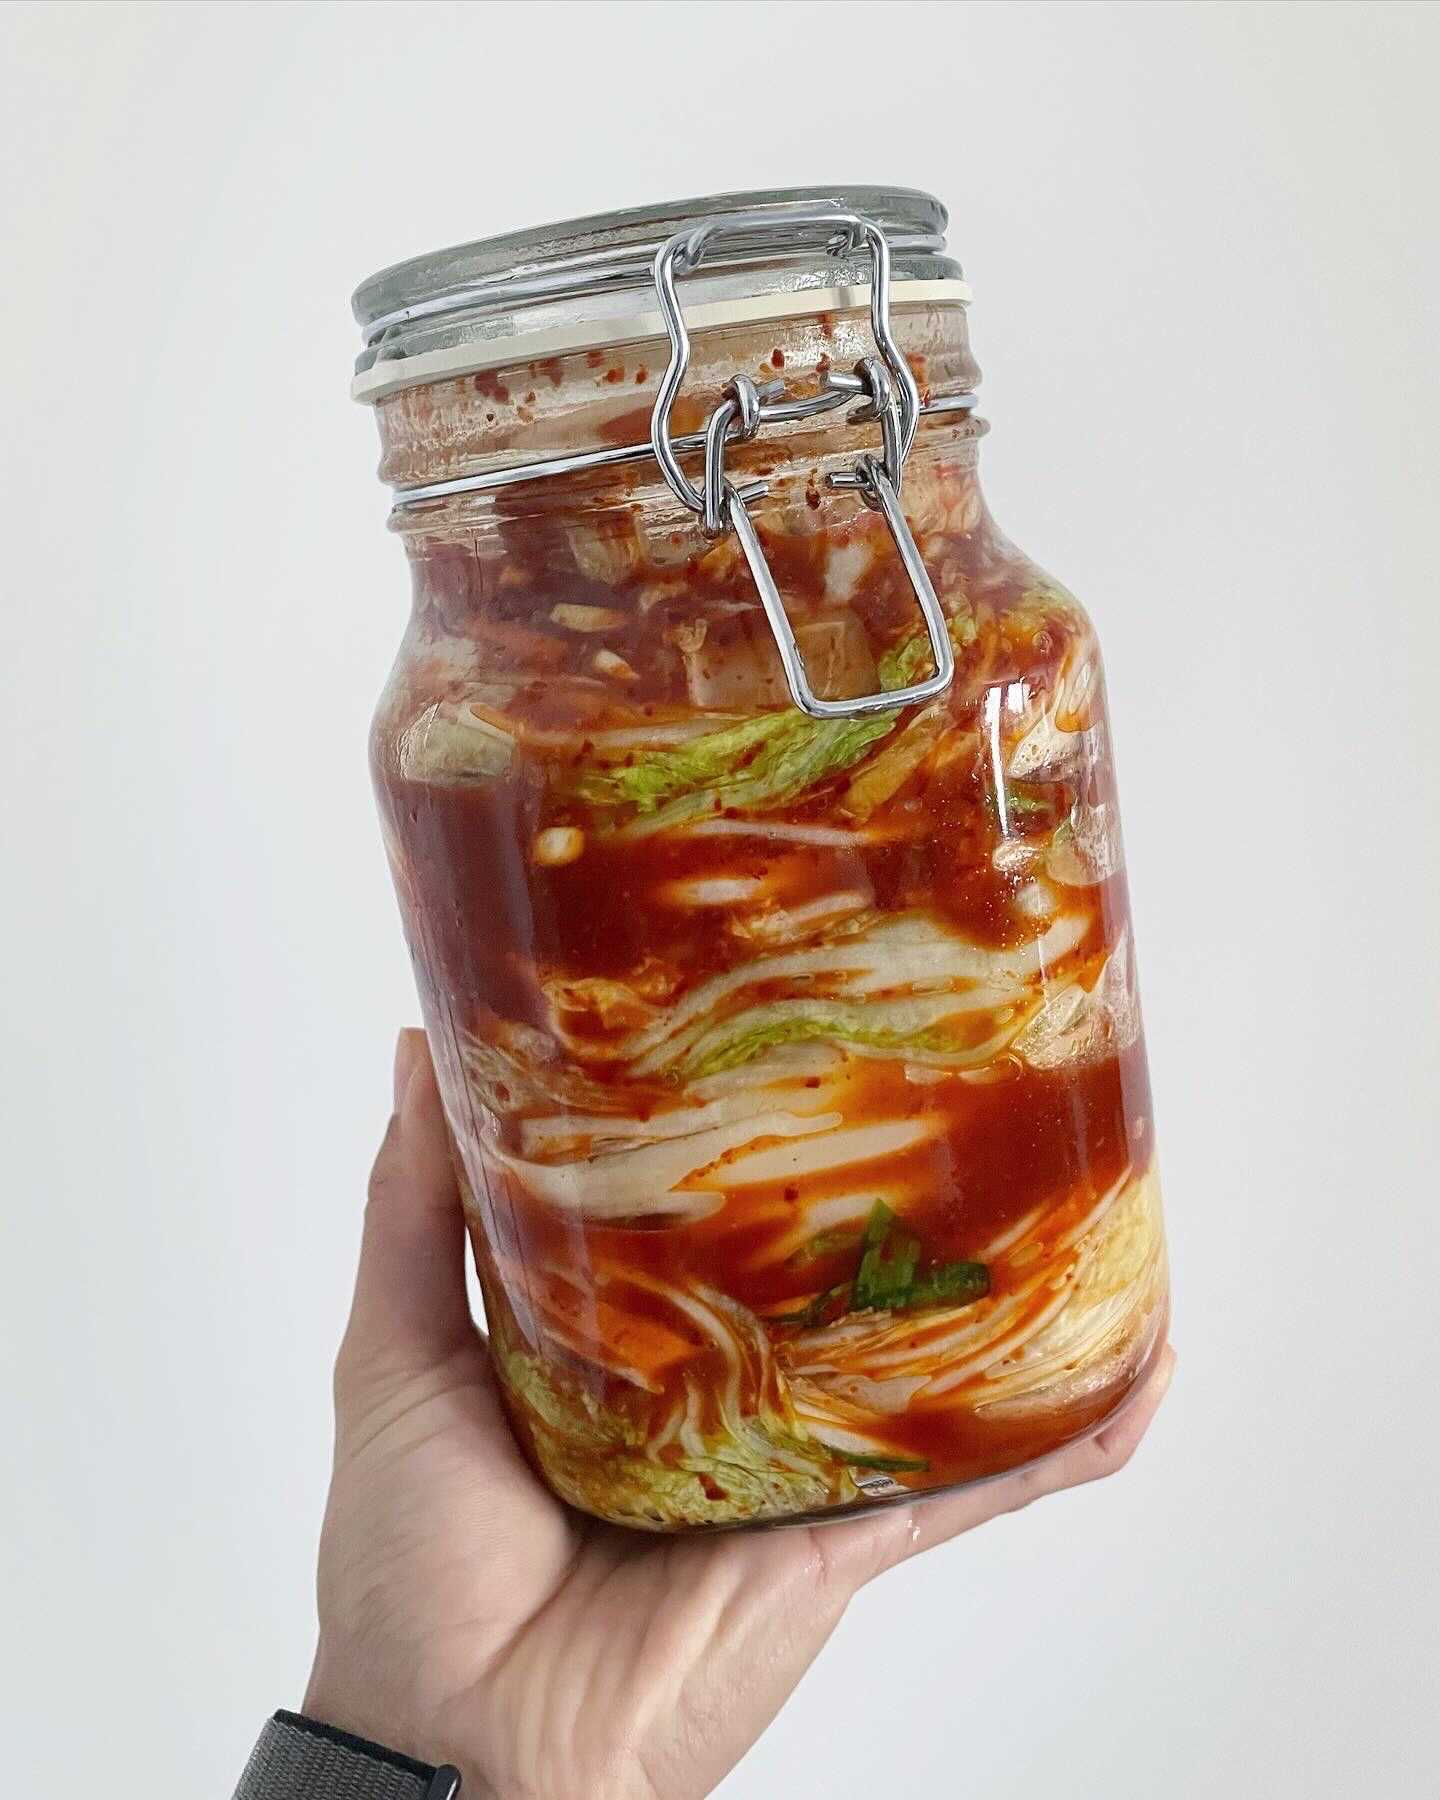
Step 3: Fermentation
Seal and store your fermentation container in a leak-proof bag or on a plate or tray. This will help with any spillage that may occur during the fermentation process.
Let the kimchi ferment in a dark space (like a pantry or in the cabinet under the sink) for about two to four days. You should start seeing it become bubbly.
Check the flavor to see if it suits your taste preference. If it is not sour enough, let it go for longer. The longer the kimchi ferments, the more sour it will be. When you are ready to open the container, be careful and open it over a sink. Fermentation introduces gases that build up pressure in the jar. When the pressure is released, by opening the jar, its contents will try to force its way out.
Step 4: Storage
Store in the fridge and enjoy within 3 months. After this point, it will get too sour and may be more ideal to use in stews.
You can save any leftover kimchi juice to add to your next kimchi ferment. This kickstarts the good fermentation bacteria culture.

Easy Classic Kimchi
Ingredients
Cabbage
- 3-4 tbsp coarse sea salt about 3% of the weight of the napa cabbage
- 1 small napa cabbage or 1/2 a large napa cabbage
Kimchi paste
- 1 tbsp glutinous rice flour*
- 1 cup water*
- 1/2 cup gochugaru
- 3 tbsp Korean fish sauce or light soy sauce
- 1.5 tsp salt or more fish sauce
- 2 tbsp sugar
- 5 cloves garlic
- 2 tsp ginger finely minced
- 1 stalk scallion or chives cut into 2 inch pieces
Extras veggies
- carrot julienned
- daikon optional
Instructions
- Chop the napa cabbage and thoroughly wet with water. Place it in a bowl and generously sprinkle with coarse sea salt. Toss the napa and add more salt to evenly coat. Allow the napa to rest for about 4 hours, stirring the mixture every hour.For a more traditional cut, see step 1b in the "The method" section in this blog post. If you are adding daikon to the kimchi salt it in a similar way at this time.

- Make the seasoning paste: mix rice flour with water in a pot and heat over medium heat, stirring until thickened ~5 minutes. Add the paste to a large bowl and mix in fish sauce, gochugaru, and sugar. Add in finely chopped up garlic and ginger followed by chopped scallions or chives and carrots (if using).

- When the napa cabbage is soft– it can easily bent but still holds a crunch– it is ready. Thoroughly rinse the napa cabbage (and daikon if using) with water and drain.
- Massage the seasoning paste into the napa cabbage and transfer to a fermentation container (I like to use mason jars). Tightly pack the kimchi to remove as much air pockets as possible.

- Cover and place it on a drip tray. This will help with any spilling that may occur during the fermentation process. Let the kimchi ferment in a dark space (like a pantry or in the cabinet under the sink) for about two to four days. You should start seeing it become bubbly.
- After 2-4 days, check the flavor to see if it suits your taste preference. If it is not sour enough, let it go for longer. The longer the kimchi ferments, the more sour it will be. When you are ready to open the container, be careful and open it over a sink. Fermentation introduces gases that build up pressure in the jar. When the pressure is released, by opening the jar, its contents will try to force its way out.
- Store in the fridge and enjoy within 3 months. You can save any leftover kimchi juice to add to your next kimchi ferment. This kick starts the good fermentation bacteria culture.