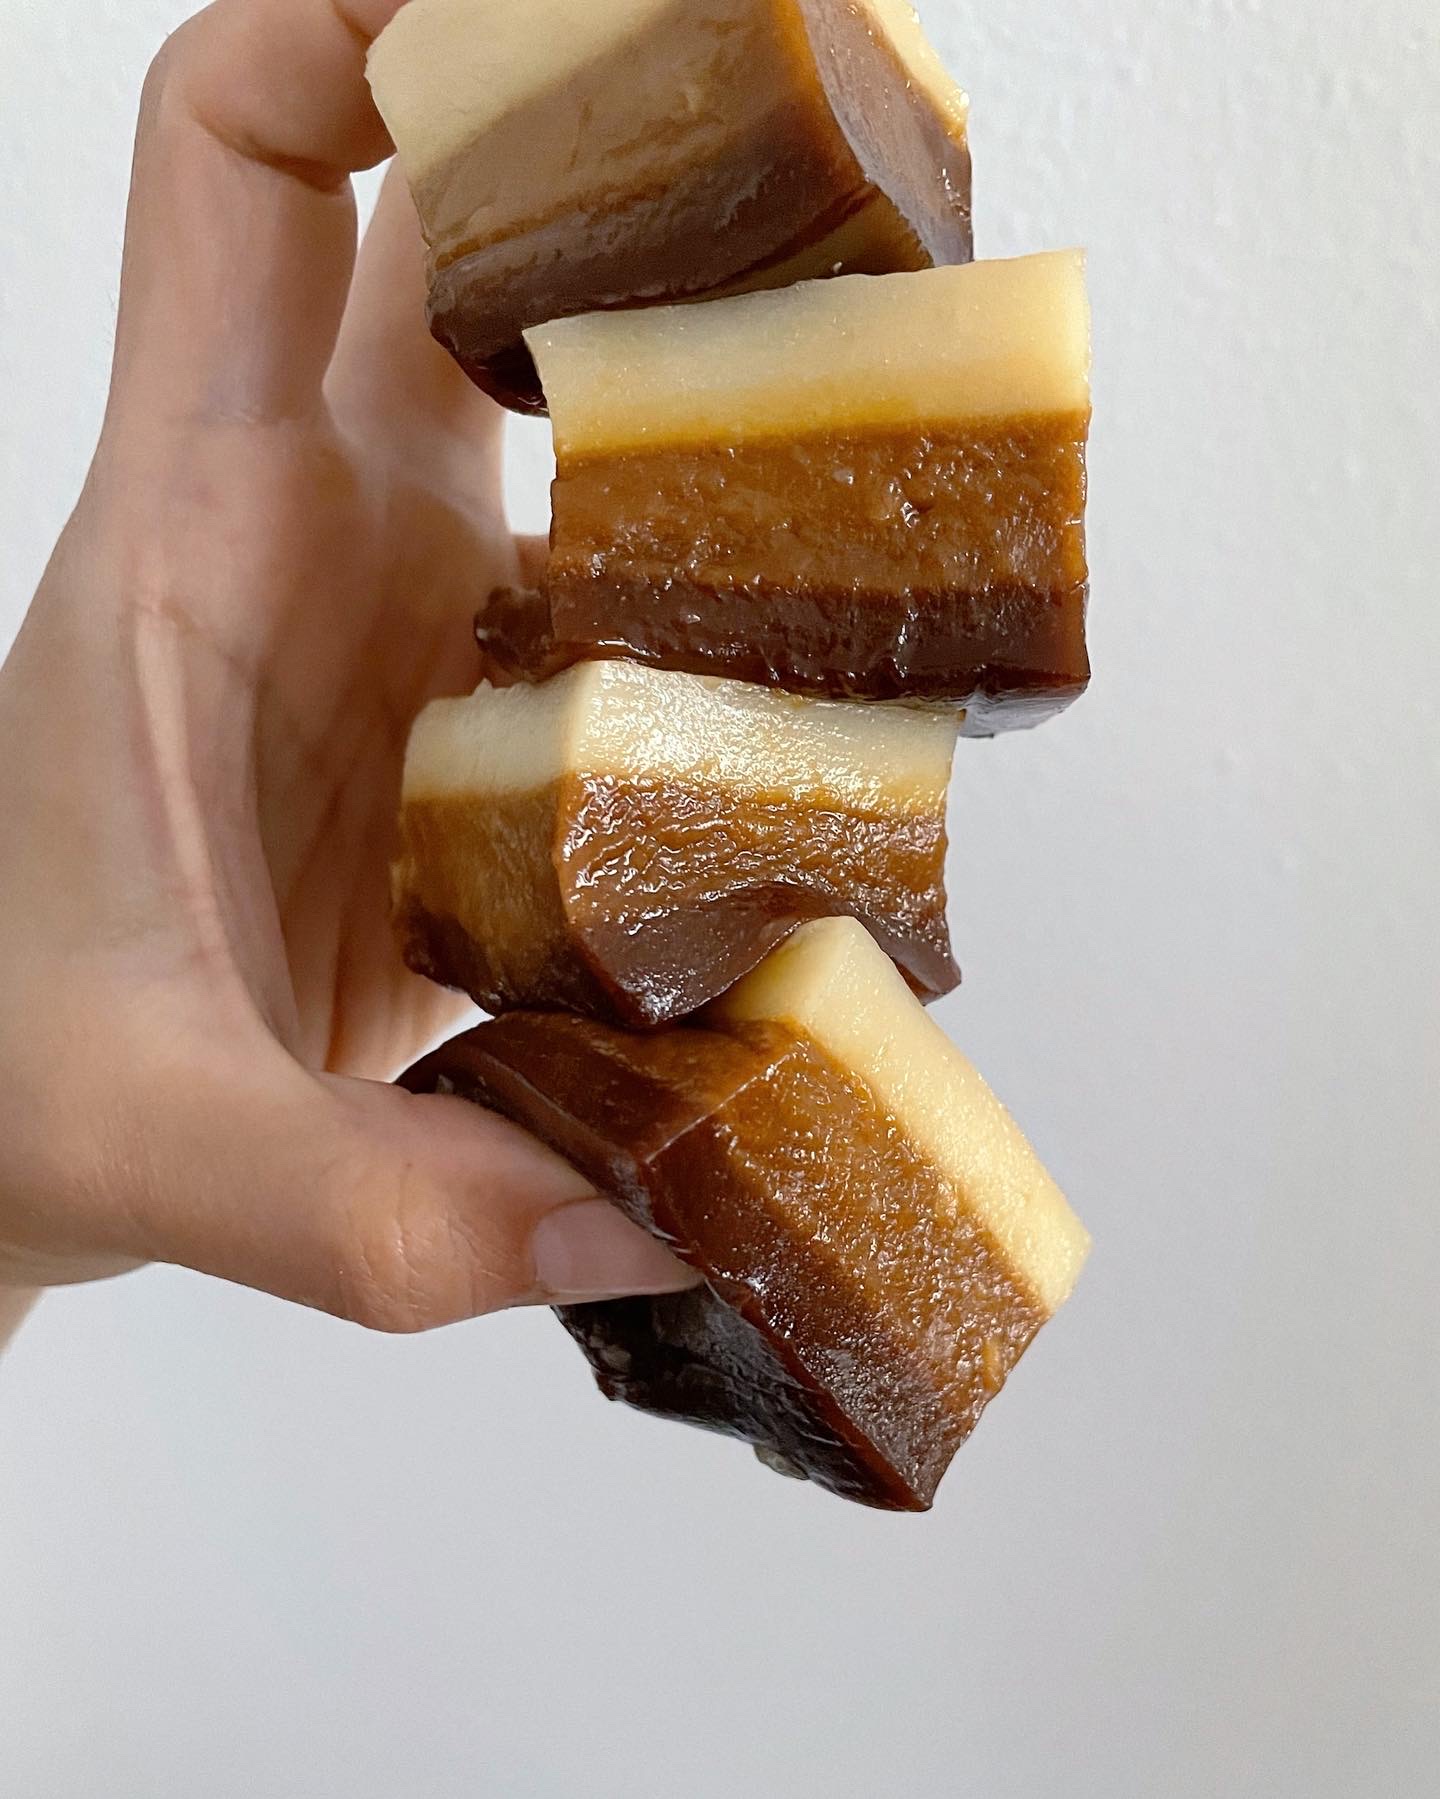
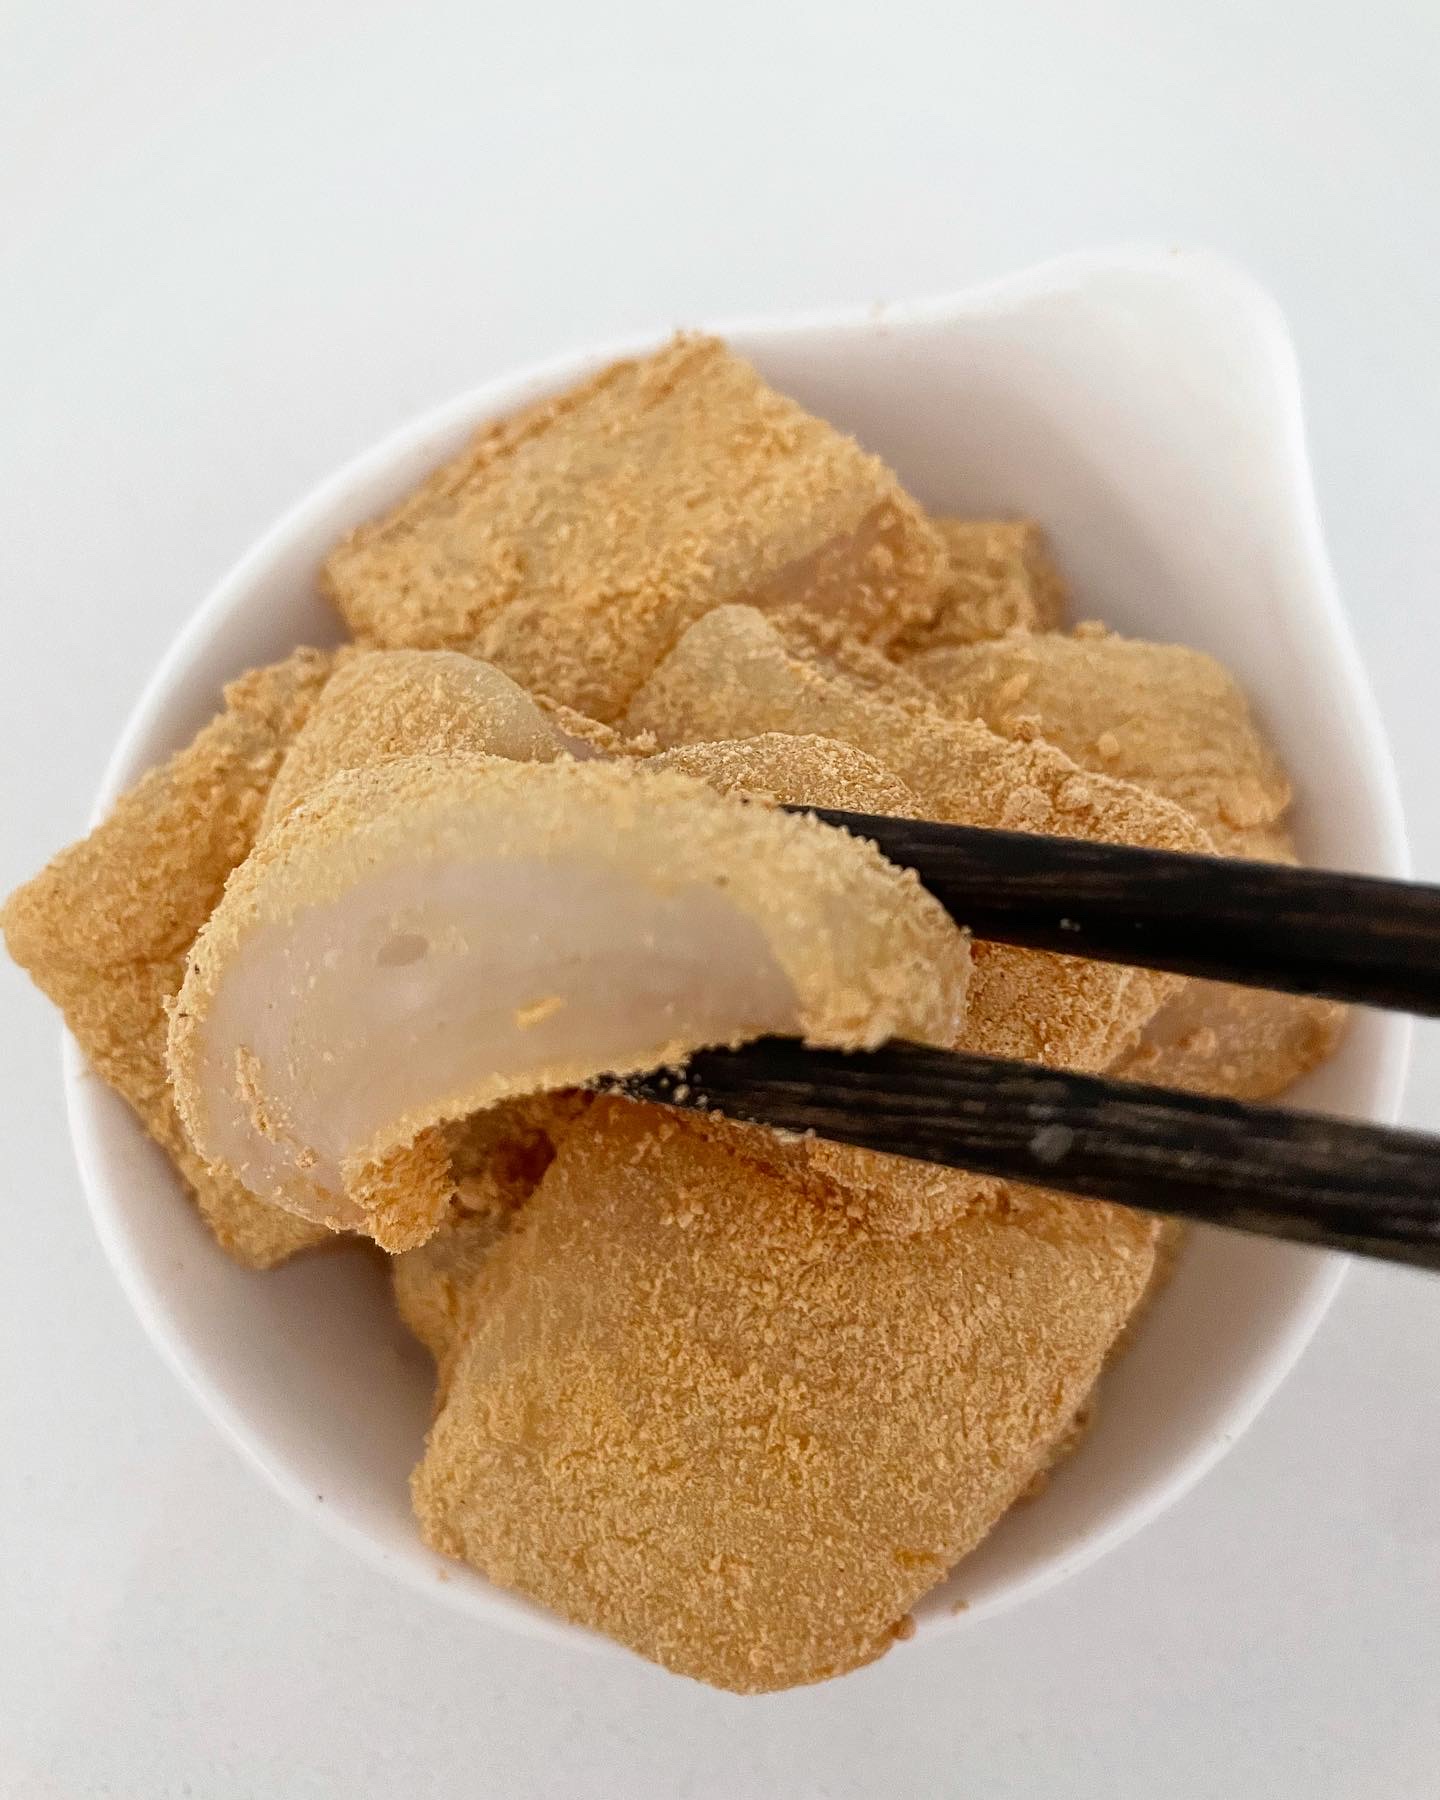
My favorite espresso beverage is an Italian style espresso macchiato. It is just a shot of espresso with steamed milk. When you pour them together, the espresso foam interacts with the milk foam and creates this beautiful 3 layer coffee gradient, which is the inspiration for this mochi.
In Italy, it is pretty common to drink espressos, and similarly macchiatos, with a pack of sugar. This is a bit of a shock for me, coming from the States where I’ve mostly drank espresso black– as a shot or over ice. The sugar makes the espresso such a treat so so sip-able. Such a sweet caffeinated way to start of the morning. I think this mochi really pays tribute to the beverage, using the same ingredients with the addition of the glutinous rich flour, for the mochi, and condensed milk, for an extra milkiness for the top milk layer.


Tips & Recommendations
- Line your baking dish with parchment paper or very generously oil your baking pan to prevent the mochi from sticking.
- This is a small batch recipe– it fits well in a 2 cup narrow baking dish. I use this from Snapware. Double the recipe if you are using more than a 3 cup baking dish or using a square baking dish.
- Bake the mochi covered this prevent the top from drying out and cracking.
- Make sure the top is set for each layer before adding on the next layer.
- Sufficiently cool the mochi before handling. I recommend to cool the mochi at least 4 hours. Ideally, let it rest overnight!
- Oil knife or run it under water before cutting. You will have to re-oil/wet the knife. If the mochi sticks to the knife, clean the knife well, and continue to cut.
- Try pan frying the mochi as well! It gives it a nice toasty flavor and an addicting crunch! One of my favorite ways to eat rice cakes!
Looking for more mochi recipes? Check these out:
- Back Sesame Mochi Bar
- Warabimochi with Tapioca Flour
- Quick & Easy Microwave Mochi
- Red Bean Mochi Bar


3 Layer Macchiato Mochi
Equipment
- 2 or 3 cup narrow baking dish*
- Parchment Paper
- Aluminum Foil
Ingredients
Bottom Layer: Espresso Layer
- 100 g glutinous rice flour
- 3 shots espresso see substitutions below
- 100-120 g espresso (from above) + water see substitutions below
- 50 g granulated sugar
Top Layer: Milk Layer
- 100 g glutinous rice flour
- 100 g condensed milk
- 90 g milk
Middle Layer
- 125 g Espresso Layer (half of mixture)
- 145 g Milk Layer (half of mixture)
Espresso Substitutions
- 2 tbsp instant coffee + 100-120g water I have tried this using Nescafe instant coffee with good results
- ~1 tbsp instant espresso + 100-120g water please refer to the back of the product for the exact measurements for 3 shots.
Instructions
Make the Espresso Layer
- Option 1: Make 3 shots of espresso. Option 2: If you do not have an espresso maker, you can use instant espresso, measuring out about 3 shots worth of the powder. Option 3: You can also substitute instant coffee. I have tried this recipe using 2 tbsp of Nescafe instant coffee with good results.
- Add water to espresso to make 100g of liquid.
- Dissolve sugar into the liquid and then add in glutinous rice flour. Add more water if the liquid is too thick.
Make the Milk Layer
- Combine condensed milk and milk together. Add in glutinous rice flour.
Make the Middle Layer
- Measure our half of the Espresso Layer and mix it in with half of the Milk Layer.
Putting it all together
- Preheat the oven to 350F. Line your baking dish with parchment paper or very generously oil you dish. This is super important to prevent sticking!
- Pour the Espresso Layer into the baking dish. Cover with aluminum foil and bake until the top has just set ~15 minutes. If it hasn't, bake for a few minutes longer. After the Espresso Layer has set, pour in the Middle Layer. Cover with aluminum foil and bake until the top of that has set. Finally add the Milk Layer, cover & bake until that has set.
- Let the mochi cool for at least 4 hours, ideally overnight. If you cut the mochi too soon, it will be too sticky to handle.
- Transfer the mochi to an oiled surface. Oil a knife and cut the mochi into bars of your desired size. The mochi can be pretty sticky so make sure to oil and re-oil the knife as you are cutting. Alternatively, instead of using oil you can roll the mochi in corn starch or tapioca starch. Aesthetically the layers won't look as defined but the mochi won't stick together.


Leave a Reply